What a Trampler is and what it's for
BASICSA Trampler is a huge walking diesel machine — a mobile base on legs. It's your storage (loot rides on the cargo racks), your transport across the wastes of Sophie, your fortress with mounted cannons, and your respawn point inside a raid. Without a Trampler you can't extract large amounts of loot — on foot you only carry what fits in your personal inventory.
You build it in the editor: place the chassis (grid) first, then attach compartments to it. The grid decides what fits, the reactor decides whether the machine runs at all, and the cannons decide who survives an encounter. The game doesn't spell every system out — so we cover the five compartments that are mandatory first, then balance, then classes.
The five required compartments
ESSENTIALS · NO BUILD WITHOUT THEMEvery valid Trampler must have these five parts. In the editor you'll find them in the Essentials tab (the chassis has its own tab since it's placed first). If one is missing, the build can't be deployed.
Chassis
The walking foundation — placed first, everything attaches to it. It carries the legs and defines the grid (how many parts fit) and the weight capacity (how many kilograms the machine can haul).
17 chassis in the database →Motor-reactor
Powers the engine and every mounted system. The most vulnerable part — if an enemy destroys it, the whole Trampler goes down. Its Rated Power is your energy budget: everything you add must fit under it.
Reactors (7) →Steering (Fly Bridge)
The steering deck / fly bridge is where you pilot the Trampler. Without a steering compartment the machine stands still — no matter how much power it has.
Steering (9) →Entrance with ladders
The entrance area with ladders is the only way for your crew to climb aboard — a clear path from the ground to the interior. Forget it, and the crew can't board.
Structure (41) →Captain's cabin
Holds the main console and a bed — this is where you respawn if you're eliminated during a raid. Without it you lose your return point into the machine after dying.
Crew (9) →Everything above this = choice
Cargo compartments, turret decks, armor, workshops and extra crew are optional — add them for the machine's role. The five above are the minimum; the rest is your build.
⌗ Assemble in the builder →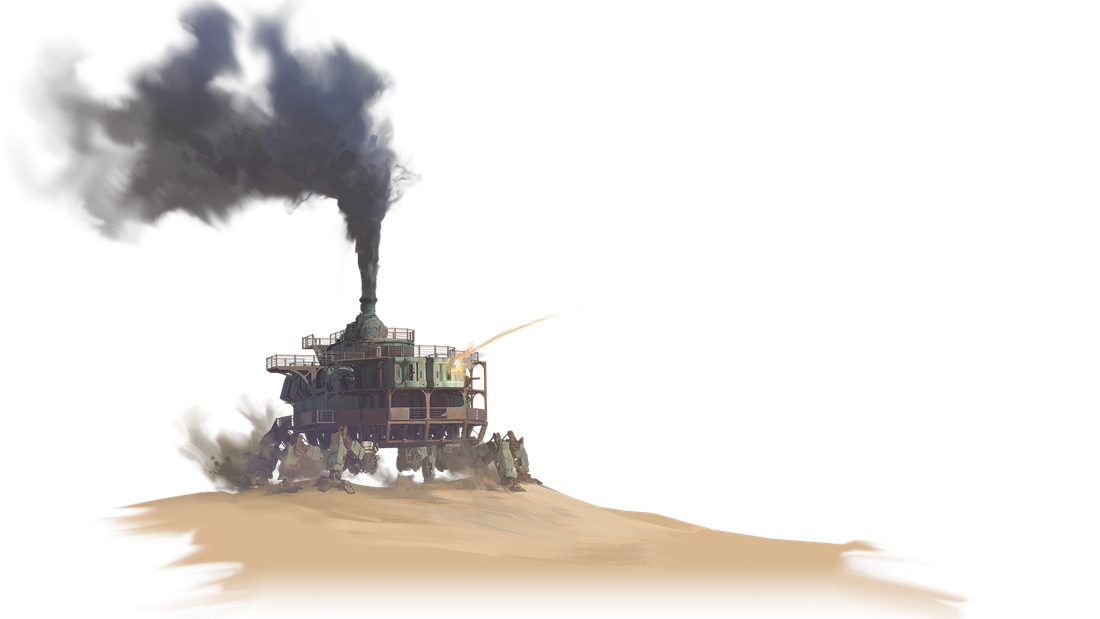
How to read the machine: a smoking stack = the reactor is running (and it's visible from afar — the black smoke is a target). The legged chassis is the foundation; compartments sit around it; cannons ride on turret decks. Remember: the reactor is both the heart and the weak spot — tuck it into the interior and behind armor when you can.
Balance — weight, energy, cost
THE THREE LEVERS OF EVERY BUILDA good build isn't the "biggest" one — it's the one in balance. Three levers you have to keep:
| You pay with | What it is | For which parts |
|---|---|---|
| Mechanical Parts | Basic mechanical parts (T1 resource) | almost everything — the base of any build |
| Pneumatic Parts | Pneumatic parts (T2 resource) | larger workshops (Armaments Workshop) |
| Computing Module | Computing module (T3 resource, rare) | advanced Captain's Compartment (T4) |
| Crowns | Coin / currency | all parts T2 and up |
Three Trampler classes
SPEED vs ARMOR vs CAPACITYChassis fall into three practical classes. A bigger class = more grid and capacity, but also more draw, a higher tier and a pricier rebuild. Pick by the machine's role, not by size.
Light Trampler
Capacity 20,000 kg · energy 3 · T1 · 25–45 Mech. Parts
- Fast and cheap — lowest draw, easiest to rebuild
- Small grid (2x4 / 3x3) — little cargo room
- Thin armor, few cannons
- For whom: beginners, quick scavenger runs, learn risk-free
Medium Trampler
Capacity 25–35,000 kg · energy 5 · T2 · +Crowns
- Balanced — enough grid for cargo + a couple of cannons
- Grid 4x3 / 3x4 — solid room
- Moderate armor, moderate cost
- For whom: everyday raids, solo and duo, first serious machine
Heavy Trampler
Capacity 40–65,000 kg · energy 8–10 · T3–T4 · expensive
- A fortress — most grid, armor and cannons
- Grid up to 5x5 / 4x6 (Great and Royal chassis)
- Slow, energy-hungry, expensive to rebuild
- For whom: endgame, team runs, Storm Dive and hunting the Dreadnaught
Defense and combat
FROM EXPERIENCE · THE ESSENCE OF A FIGHTCommon mistakes
WHAT SINKS BUILDSFirst-build recommendation
CHEAP · T1 · EASY TO REBUILD"First Trampler" — the light scavenger
The goal of a first build isn't to be strong — it's to be cheap and mobile, so you can rebuild it without regret when you lose it. All T1, minimal Crowns, the five required compartments plus a couple of cargo decks for loot.
New to the game? Read SAND for beginners first — the core loop and first steps.
- Light chassis (Small, 20,000 kg, T1) — a cheap foundation
- Deck motor-reactor (T1, Rated Power 75) — enough power for a light build
- Fly bridge / steering deck — steering (low draw)
- Entrance vestibule + ladders — crew boarding
- Captain's cabin (T1) — respawn and console
- 2–3 cargo decks — room for loot-filled boxes